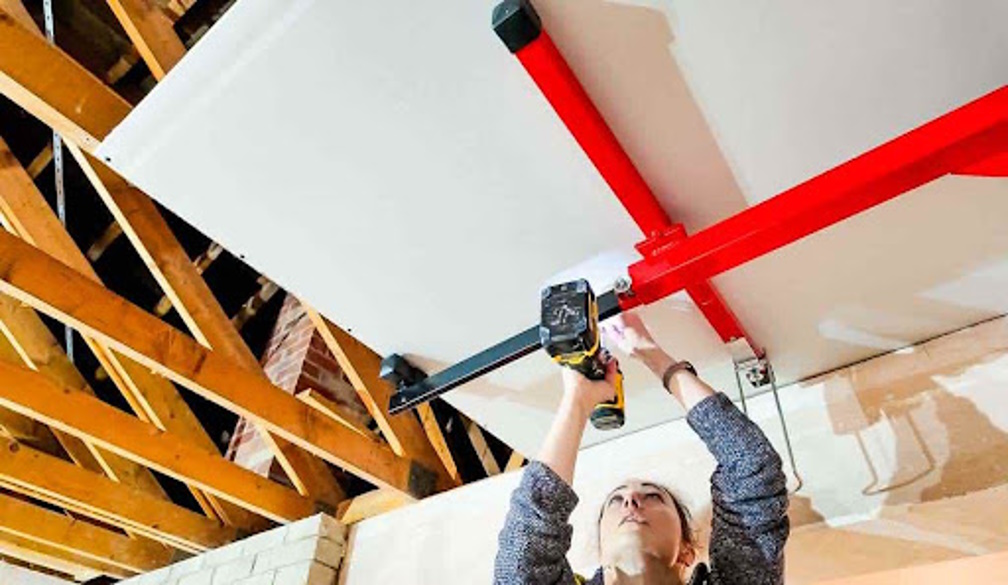
Complete Guide to Restoring a Plaster Ceiling

Over time, a house begins to shift and settle. At the same time, weak spots in the walls start to crack under pressure. One of the most challenging types of repair is when cracks occur in the ceiling. However, by understanding how to repair a plaster ceiling, you can preserve the aesthetic value of your home with little effort.
When do you need professional help?
While the DIY option may be suitable for small, non-critical projects, the benefits of professional plastering services presented on this page are undeniable for larger, more complex projects.
We recommend contacting the repair contractors in Melbourne if you are faced with the following problems:
- Significant structural damage that affects the integrity of the ceiling.
- Large areas with significant sagging of the plaster.
- Signs of ongoing water leakage or damage.
- Ceilings in historic buildings that require unique preservation methods.
From impeccable quality and finish to increased property value and safety, practiced plasterers are professional and efficient, guaranteeing that your home will look its best and stand the test of time.
What materials and tools are needed to restore a plaster ceiling?
Understanding the materials and tools needed for a successful repair is critical when restoring a home's ceiling. Let's look at the basic elements that will help ensure a smooth and even surface.
- Plaster mix. A high-quality gypsum mix is essential for repairing cracks and cavities on the damaged surface. It is the main element that provides strength and durability to the restored parts.
- Mesh Patching Fabric. You can use mesh patching fabric to strengthen the plaster mix and prevent cracks from occurring. Such an element provides a sustainable result, increasing the period between repairs.
- Spatula. An indispensable repair tool that ensures a smooth application of the gypsum mix to the affected sections. Its use provides a uniform and aesthetic finish.
Ensure you have extra materials for any unexpected damage or repairs that may be needed during the restoration procedure.
How does the plaster ceiling restoration work?
Restoring a plaster ceiling involves several steps. Take your time and work carefully to achieve a professional result:
- Fixing loose plaster. Start by stabilizing the loose parts of the plaster. This is a crucial step to prevent further damage and prepare the surface for repair.
- Applying joint sealant. Cover the plaster washers and adjacent areas to ensure a seamless connection with the existing surface.
- Strengthening with insect protection. Adding such a layer reduces the likelihood of cracks reoccurring.
- Sanding and finishing. After the joint compound has dried, use sandpaper to remove any ridges or imperfections.
- Priming and painting. To finish the repair and achieve a polished finish, apply a coat of primer to the repaired segment and allow it to dry. Then, apply two coats of paint, choosing a shade that matches the current ceiling color.
Consistent maintenance and preventative measures will help preserve your plaster ceiling and prevent potential future damage.
Benefits of professional plastering for ceiling restoration
Professional interior plastering for ceiling restoration from PlasterX is in high demand. Here is a brief overview of its benefits:
- Enhanced aesthetics. Ceiling restoration using professional techniques provides a sophisticated and visually appealing appearance to buildings.
- Enhanced durability. Using high-quality materials and proper repair techniques ensures plaster ceilings last longer and resist damage.
- Preservation of historical details. Professional restoration techniques help preserve the rooms' historical essence and value in buildings with original plaster ceilings.
With the above benefits, it is clear that the professional execution of the work with PlasterX experts goes beyond aesthetics. It ensures durability, stability, and preservation while increasing the overall appeal of the interior spaces. Do not hesitate to seek help from professionals.


